Common Mistakes That Cause PET Film Residue (and How to Avoid Them)
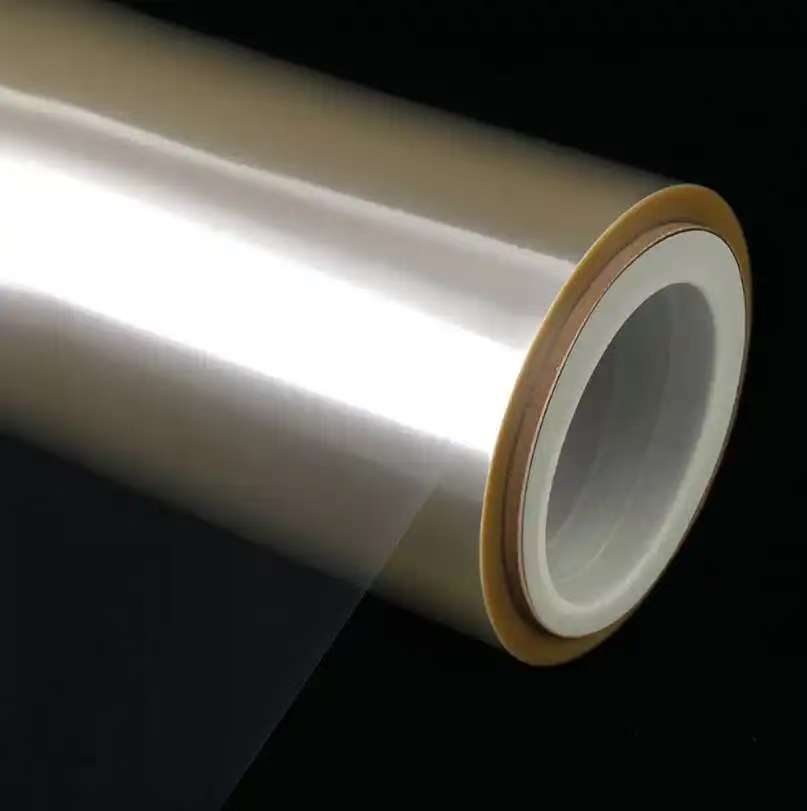
PET protective films are essential in industries ranging from electronics to packaging. However, improper usage often leads to adhesive residue, surface damage, or film failure. In this guide, we’ll break down the most frequent mistakes during application and removal—and teach you how to avoid them using best practices, expert tips, and the right materials like PET protective tape for LCD panel. Learn how PET film residue removal can be easy and effective when done right.
Why Residue Happens in the First Place
Residue forms when:
- Adhesive overcures or deteriorates
- Films are applied to incompatible surfaces
- Environmental stress like heat or UV breaks down the bond
- Films are left on too long or applied improperly
Understanding how to prevent residue starts with understanding the material and how to handle it.
Mistake #1: Choosing the Wrong Adhesive
Not all adhesives are the same. PET films use:
- Silicone adhesives (ideal for clean removal)
- Acrylic adhesives (higher tack, but prone to aging)
- Rubber adhesives (low-cost, but messy residue risk)
Fix: For electronics or displays, always choose PET protective tape for LCD panel with silicone-based, low-tack adhesives.
Mistake #2: Skipping Surface Preparation
Dust, oils, and moisture interfere with adhesion.
Fix:
- Use isopropyl alcohol (IPA) to clean the surface
- Use gloves to avoid skin oils transferring to the film
- Dry completely before application
Mistake #3: Applying in the Wrong Environment
PET films react to temperature and humidity.
Fix:
- Ideal application temp: 18°C–24°C
- Avoid high humidity or direct sunlight
- Store films flat in controlled environments
Mistake #4: Overstretching the Film
Stretching during application deforms the adhesive layer, leading to bubbles and edge lifting.
Fix:
- Gently lay down the film with zero stretch
- Use a roller or flat applicator
- Follow tips for bubble-free PET film
Mistake #5: Removing Film Incorrectly
Rapid or harsh removal causes tearing, adhesive transfer, and surface abrasion.
Fix:
- Gently warm the film (around 50°C) if it's been on long
- Peel slowly at 45° to 60° angle
- Clean any residue immediately using IPA
Tips for Bubble-Free PET Film Application
Bubbles are not just visual defects—they also trap moisture and reduce adhesive bond strength.
Tips:
- Apply from the center outward using a squeegee
- Avoid trapping air at the edges
- Use a dust-free room for high-end applications
- Choose film with air release channels (optional but useful)
Applications Where Residue-Free Film Is Critical
| Industry | Importance of Clean Removal |
|---|---|
| Electronics | Prevents screen clouding and component interference |
| Packaging | Maintains high-quality finish |
| Medical Devices | Avoids contamination on diagnostic equipment |
| Automotive | Preserves high-gloss dashboards and trim |
For example, PET protective tape for LCD panel must remove cleanly without damaging anti-glare or polarized layers.
Best Practices Summary
| Practice | Why It Matters |
|---|---|
| Choose silicone-based adhesive | Minimizes residue |
| Prep surface with alcohol | Ensures strong, clean adhesion |
| Apply at moderate temperature | Prevents bonding failure or over-adhesion |
| Remove film with controlled motion | Avoids tearing and transfer |
| Use proper tools and techniques | Enhances application consistency |
Final Takeaway
Avoiding PET film residue isn’t complicated—it’s about using the right film, applying it correctly, and removing it with care. Whether you're working on packaging, displays, or electronics, combining tips for bubble-free PET film, proper handling, and PET film residue removal techniques will give you professional, clean results.
READ MORE:
Telephone: 008613530419893
E-mail:marie@selfadhesivefilm.com
ADDRESS (Shenzhen):903-286, Building A2, Guangming Technology Park, China Merchants Group, Guanguang Road, Fenghuang Community, Fenghuang Street, Guangming District, Shenzhen, Guangdong.
ADDRESS (Dongguan): 3rd Building No.45 Yinhu Road Shishuikou Community,Qiaotou Town, Dongguan, Guangdong.


