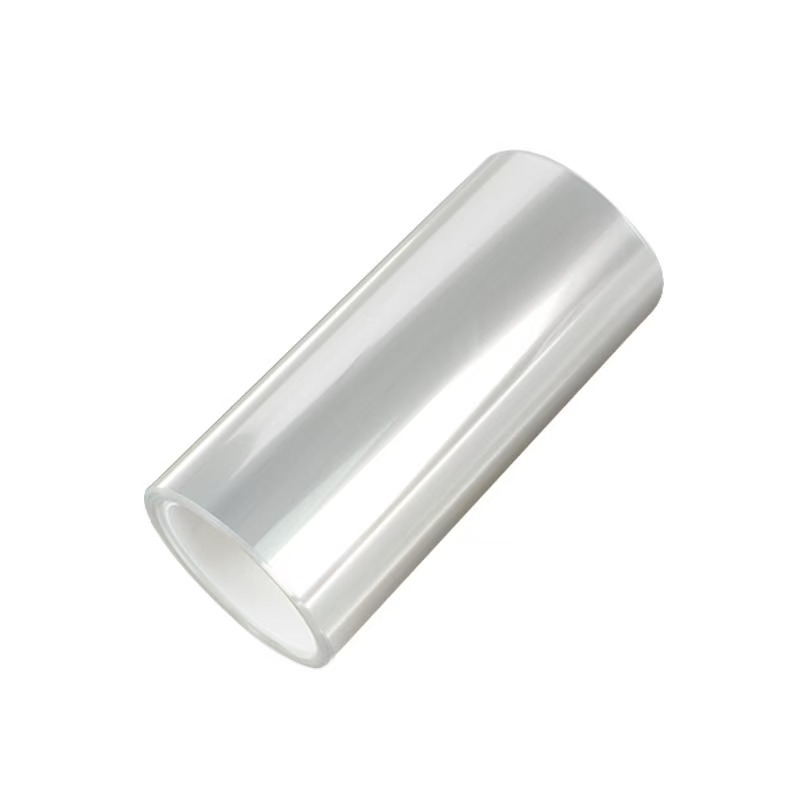
Top 10 Mistakes to Avoid When Applying and Removing PET Tape
PET tape and film are essential in manufacturing, electronics, packaging, and medical sectors. Despite their utility, errors during application or removal often lead to residue, bubbles, damage, or failed adhesion. If you’ve ever wondered how to remove PET film cleanly or select the right no residue adhesive PET film, this guide breaks down what not to do and shares actionable PET tape application tips to improve your outcomes.
Mistake #1: Not Cleaning the Surface
Any dirt, oil, or particle on the surface disrupts adhesion and leads to edge lifting or bubbles.
Fix: Always use isopropyl alcohol and lint-free cloths before application.
Mistake #2: Choosing the Wrong Adhesive Type
Using aggressive or unsuitable adhesives can leave residue or damage sensitive substrates.
Fix: For clean removal, always choose no residue adhesive PET film, ideally with a silicone base.
Mistake #3: Applying in the Wrong Temperature
Extreme cold makes adhesives stiff. Extreme heat makes them too soft.
Fix: Apply tape between 18°C–24°C (64°F–75°F) for optimal bonding.
Mistake #4: Over-Stretching the Film
Stretching causes mechanical stress, leading to shrinkage or cracking over time.
Fix: Gently lay the film without pulling it; let the adhesive do the work.
Mistake #5: Using Poor Tools
Rubbing with fingers or makeshift tools causes uneven pressure and bubble formation.
Fix: Use a squeegee, soft roller, or lamination applicator.
Mistake #6: Ignoring the Peeling Angle
Pulling too quickly or at the wrong angle increases adhesive transfer.
Fix: For how to remove PET film cleanly, peel at a 45–60° angle slowly and evenly.
Mistake #7: Skipping Cure or Settling Time
PET film needs time to form a stable bond. Immediate exposure to stress may weaken adhesion.
Fix: Allow 1–3 hours settling time at room temperature before handling or exposing to heat.
Mistake #8: Applying to Uneven or Textured Surfaces
PET film performs poorly on rough surfaces unless designed for high-tack.
Fix: Match adhesive type to the substrate. For textured surfaces, use PET film with modified acrylic glue.
Mistake #9: Leaving Film Too Long
Acrylic adhesives degrade with time, making clean removal harder.
Fix: Choose no residue adhesive PET film for long-term coverage or ensure timely removal.
Mistake #10: Reusing PET Film
Once peeled, PET tape loses adhesive strength and may transfer glue or dust.
Fix: Always use fresh PET film for every application.
PET Tape Application Tips – Best Practices Recap
| Best Practice | Why It Matters |
|---|---|
| Clean the surface | Ensures full contact and bubble-free bond |
| Use silicone-based adhesives | Reduces residue risk |
| Avoid stretching during placement | Prevents cracking and edge lifting |
| Apply even pressure with tools | Ensures uniform adhesion |
| Peel back slowly and at an angle | Promotes clean removal |
No Residue Adhesive PET Film: Key Features to Look For
To avoid most of the mistakes above, investing in the right PET film is essential:
- Silicone adhesive with controlled tack
- UV-resistant and thermally stable
- Anti-static and RoHS-compliant (for electronics)
- Comes with easy-release liners for die-cut versions
Final Thoughts
Avoiding these 10 mistakes can save hours of labor, reduce material waste, and prevent costly substrate damage. Whether you're protecting smartphone screens, metal components, or printed packaging, combining smart choices with expert-level PET tape application tips ensures flawless performance and residue-free removal every time.
READ MORE:
Telephone: 008613530419893
E-mail:marie@selfadhesivefilm.com
ADDRESS (Shenzhen):903-286, Building A2, Guangming Technology Park, China Merchants Group, Guanguang Road, Fenghuang Community, Fenghuang Street, Guangming District, Shenzhen, Guangdong.
ADDRESS (Dongguan): 3rd Building No.45 Yinhu Road Shishuikou Community,Qiaotou Town, Dongguan, Guangdong.


